 AvowedRealm
Ever since I set foot in the Living Lands, the hidden Totem quests in Avowed have been my obsession. They offer no map markers, no hand-holding, just enigmatic riddles and the thrill of the hunt. The Dawnshore totem, officially called Totem of Rightful Rulership, asks you to gather seven scattered fragments of the Scales of the Oathbringer. After countless hours scaling lighthouses and diving into murky ponds, I’ve finally assembled them all. Here is my personal journal of the journey, with every crucial step so you don’t miss a single piece.
How the Quest Works
The quest triggers the moment you stumble upon any one of the seven fragments. Once that happens, you get a bare-bones objective with no guidance other than an optional hint to find a clue about the other pieces. I learned the hard way that ignoring this hint means wandering aimlessly. The clue you need is a document sold by Sanza in Paradis, and it’s worth every copper.
Buying the Riddles That Saved My Sanity
I marched to Northern Paradis and entered Sanza’s Emporium, a dusty shop filled with curiosities. Sanza himself stands near the entrance, but the real treasure is in his inventory: a folded note called “Totem Fragment Locations” for 500 currency. I admit, I balked at the price. So I used a little trick — I quick-saved, bought the note, took screenshots of all the riddles, and then reloaded. If you’re struggling for coin in the early game, this is a lifesaver. The riddles are poetic but precise, and I’ll decode them as I describe each fragment.
The Totem Core: Shrine to Woedica
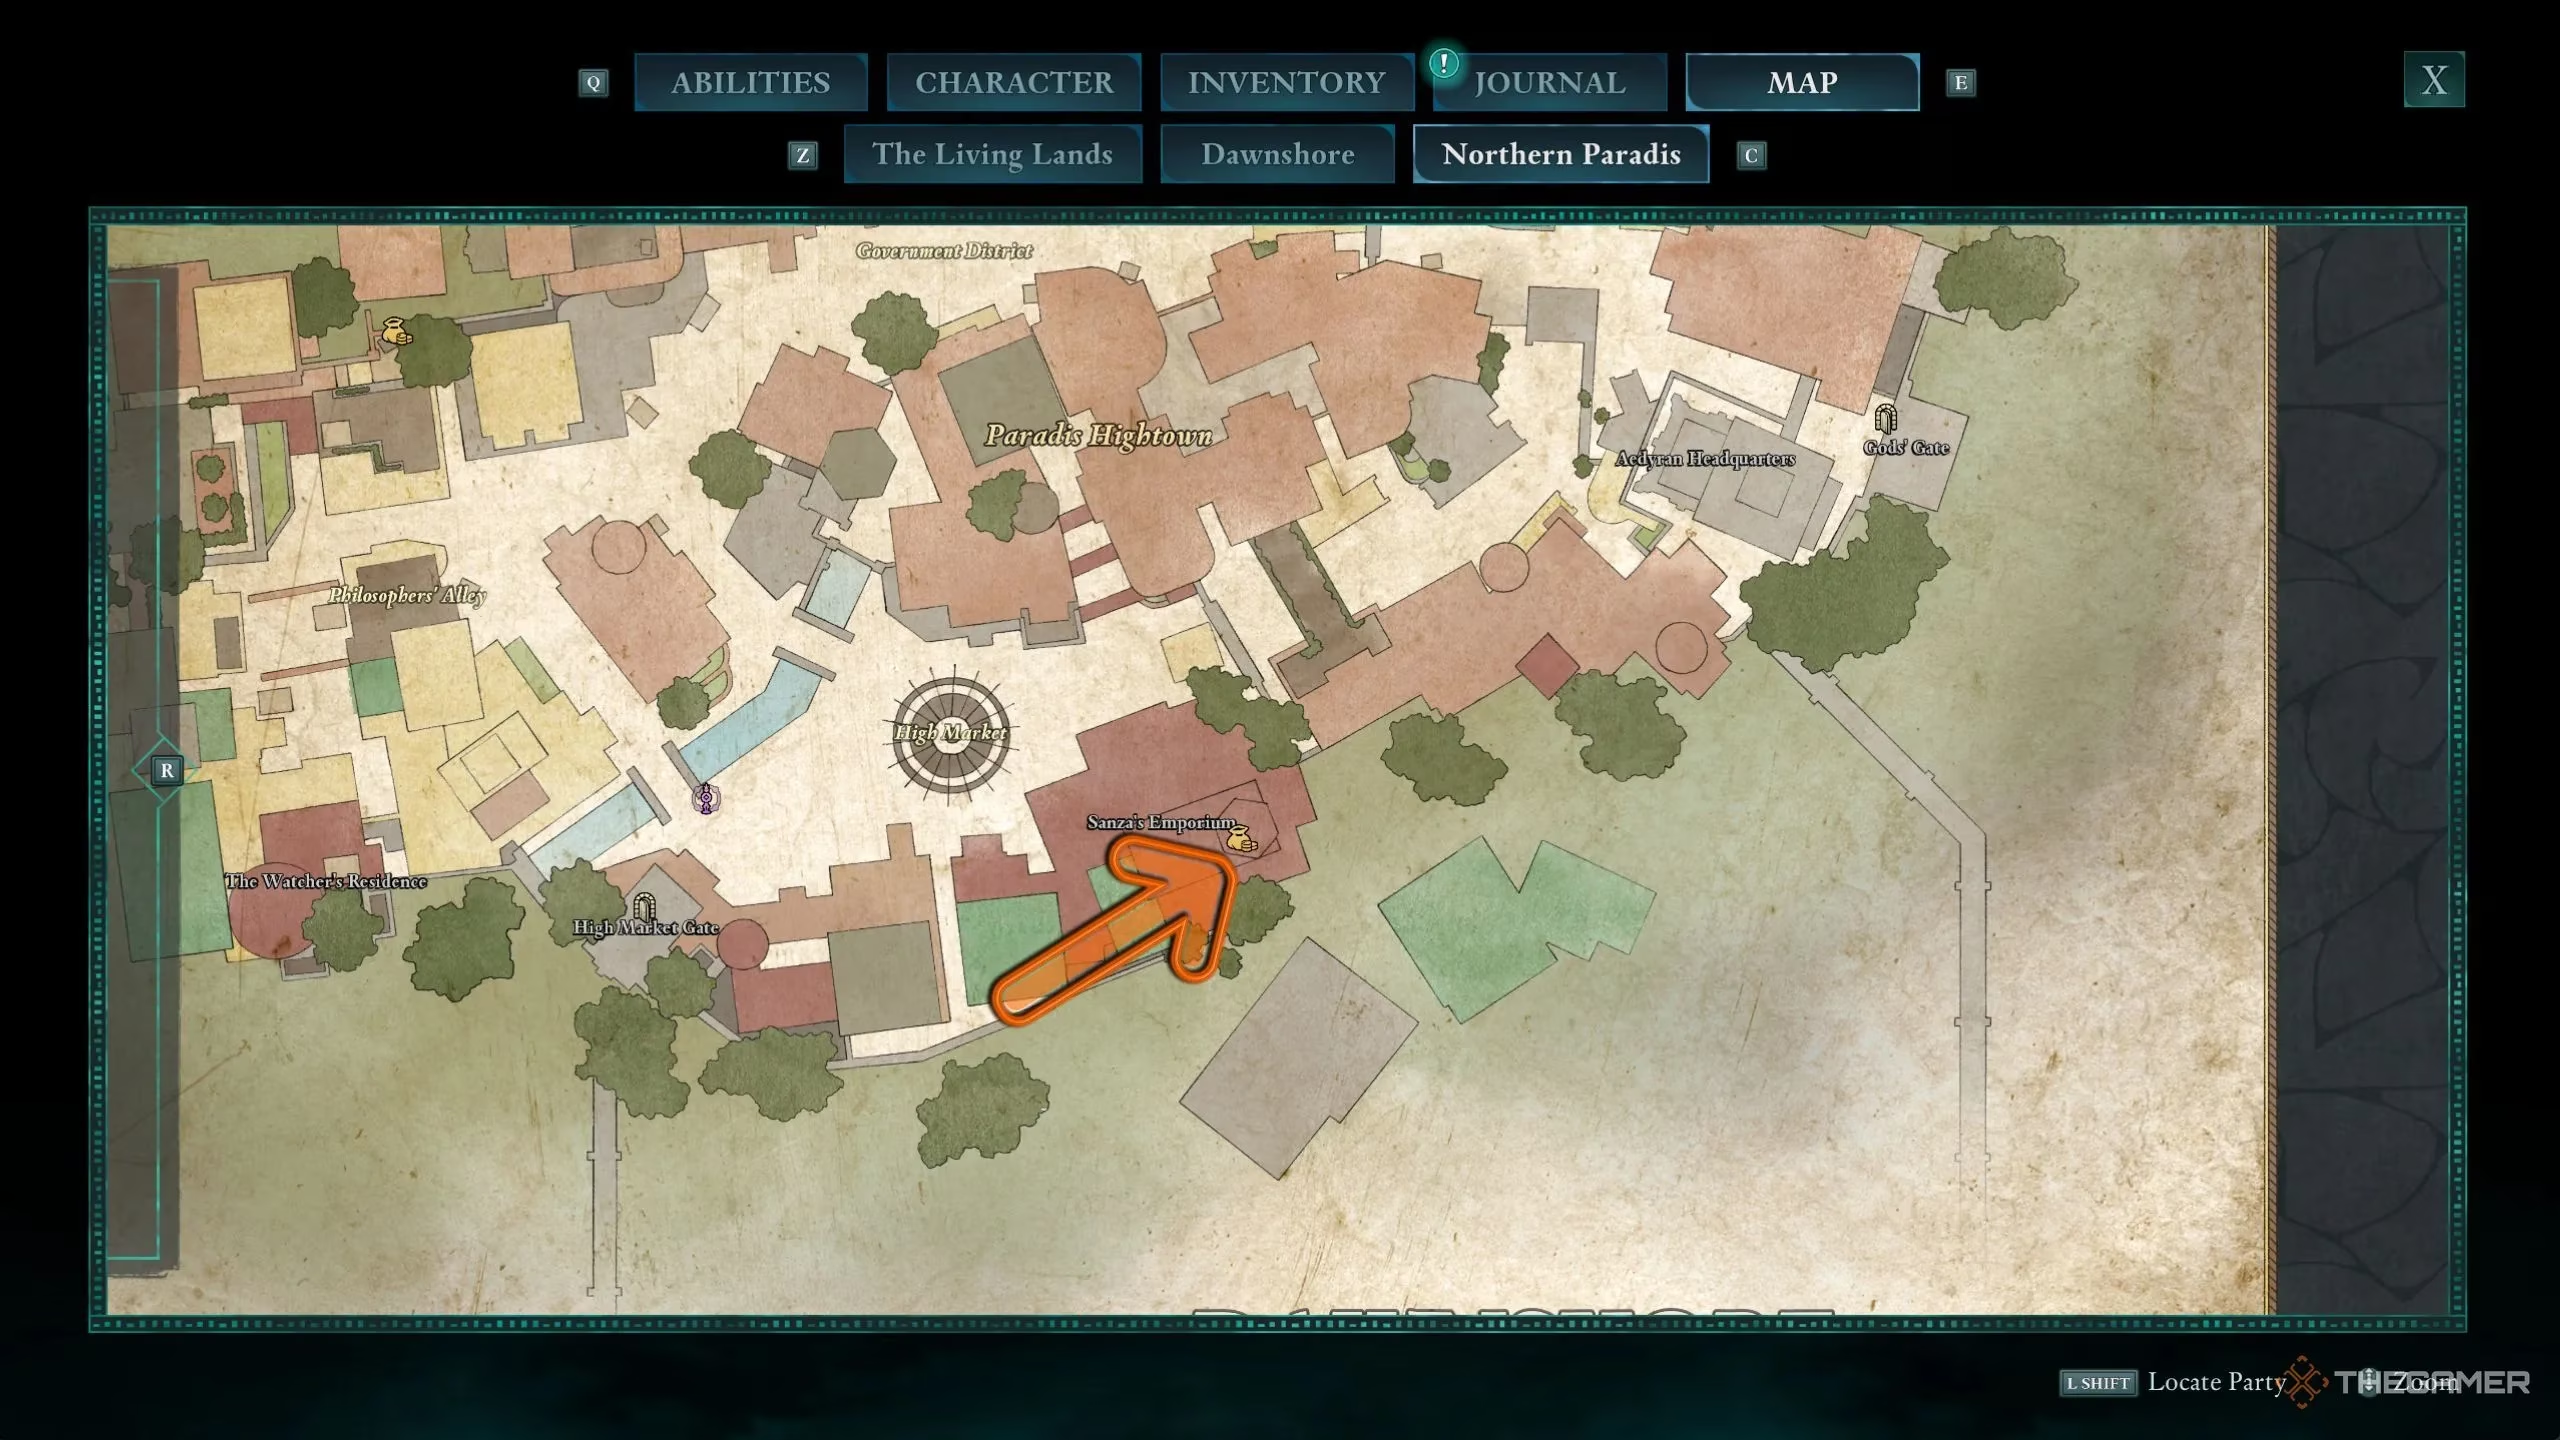
Before hunting for the outer fragments, you need the central piece — the pedestal that binds them all. The riddle reads: “In ruins hated by the Burned Queen, the core lies where the godless once prayed.” The Burned Queen is Woedica, and the godless beings are the people she despises. That pointed me to the Shrine to Woedica in the northeastern corner of Dawnshore. I trekked through hills and hostile wildlife until I found a crumbling stone altar draped in purple cloth. Right there, gleaming in the sun, was the Totem Core. This base item lets you slot fragments at any party camp later.
Broken Crown Jewel: The Easiest Grab
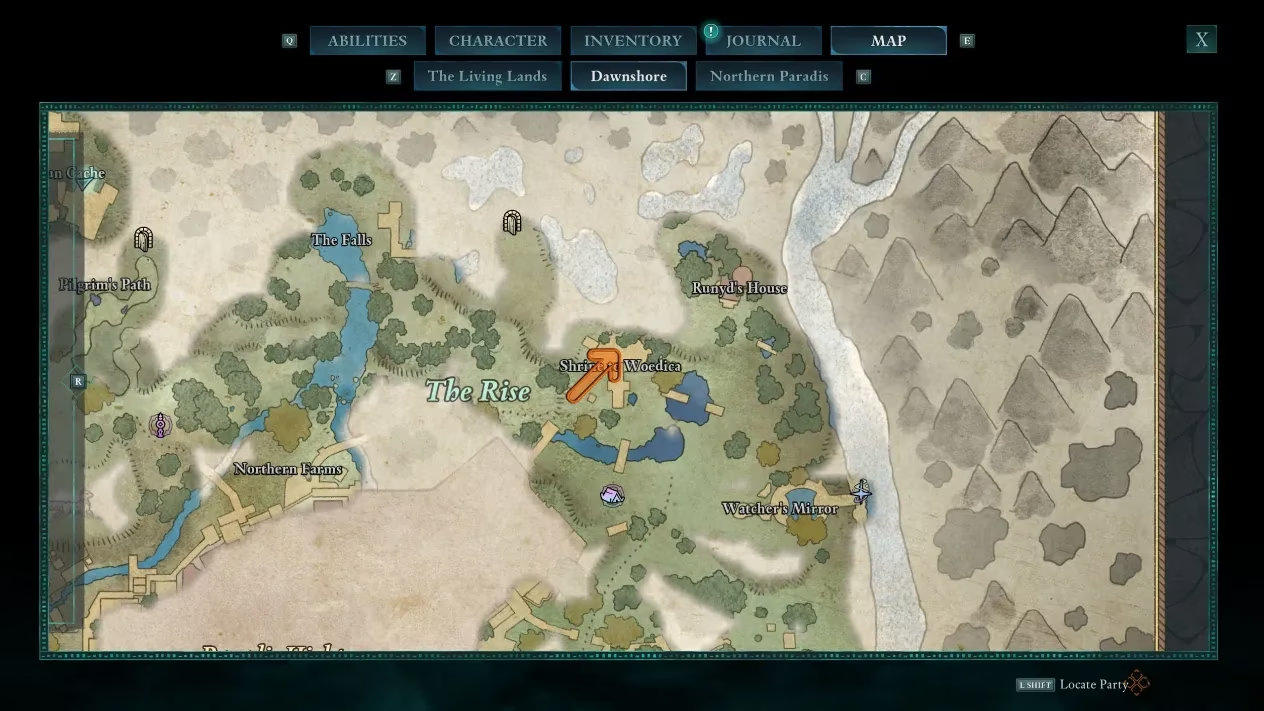
The simplest fragment is the Broken Crown Jewel. The riddle says it rests in an emporium, and Dawnshore has only one such place. I returned to Sanza’s Emporium, but this time I ignored the shopkeeper. To the left of his counter, a door leads into a small study. On the chair sat the jewel, completely unguarded. Sanza didn’t even blink when I picked it up. If only all treasures were this stress-free.
Golden Plaque of Promises: The Lighthouse Climb
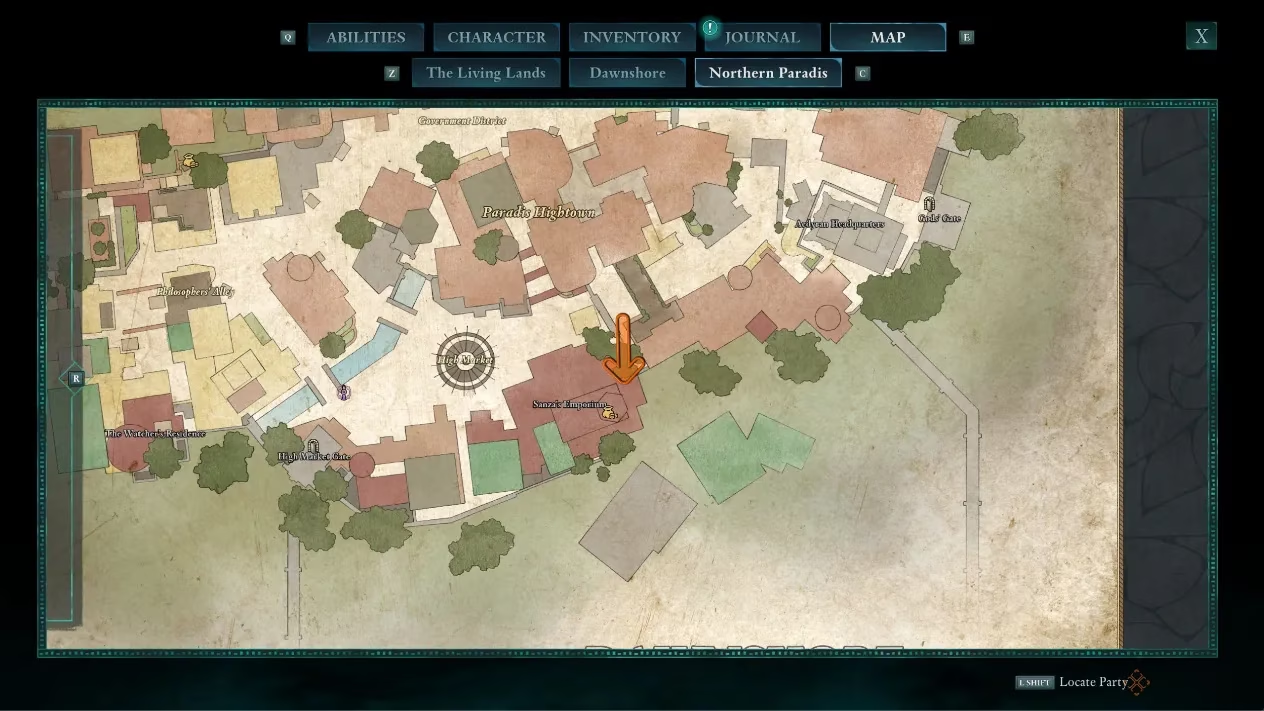
My first discovery was the Golden Plaque of Promises, and it set the tone for the platforming ahead. Dawnshore’s lighthouse looms southwest of Claviger’s Landing. As I approached, I spotted wooden scaffolding hugging its wall. I climbed one ladder, then hopped across creaky platforms, often jumping to a plank only to realize I had to backtrack to a higher beam. Near the top, a gap in the stonework revealed the fragment. I had to leap left around the corner to land on a small ledge — miss it, and you’re taking fall damage. After a few tense jumps, I snatched the plaque from a red cloth.
Golden Scale of Justice: The Hidden Balcony
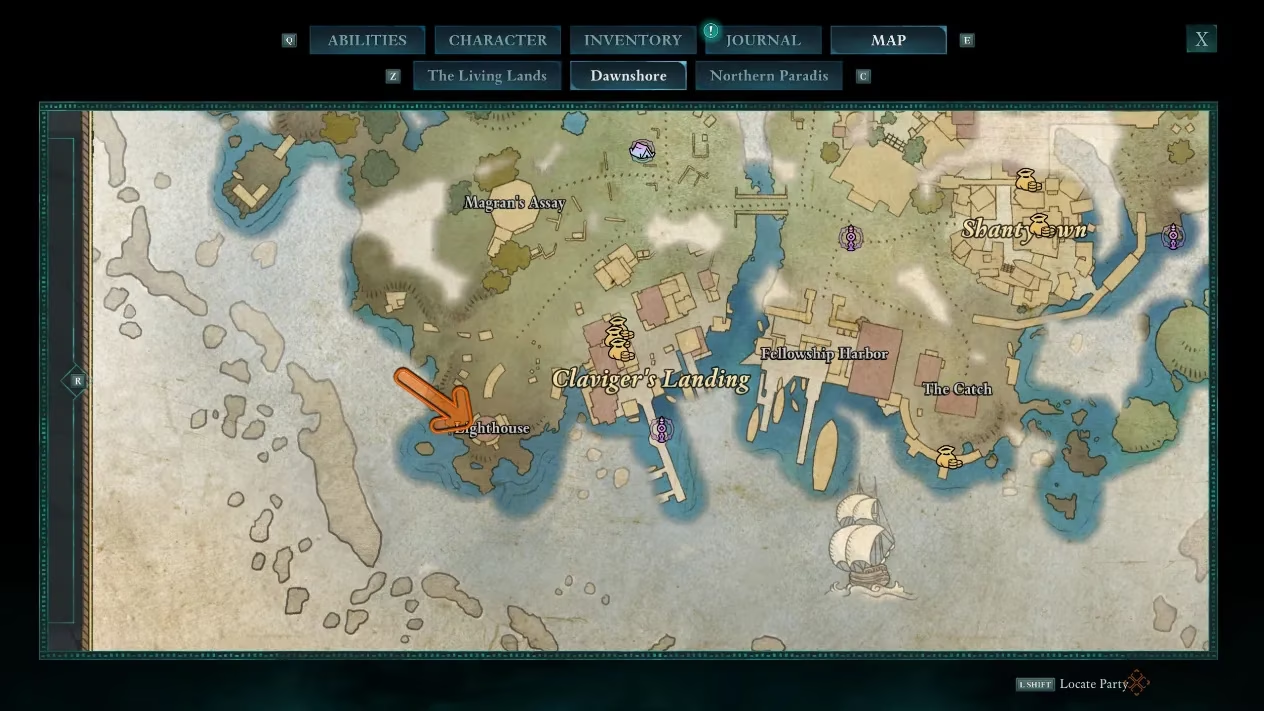
This one nearly broke me. The Golden Scale of Justice hides in a secret room within Paradis itself. Starting at the Administration District Beacon, I headed north until I saw the Northern Paradis gate. Instead of passing through, I jumped right into a green thicket and shimmied along the outer wall. I climbed past the edge and dropped onto a balcony with an artist’s canvas. Through a doorway, I found ladders descending into darkness. Down there, spectral phantoms attacked, their eerie wails echoing in the chamber. After a tense fight, I grabbed the scale from a forgotten corner. The riddle mentioned a place “where art meets law,” which suddenly made sense — the canvas and the proximity to the administrative district.
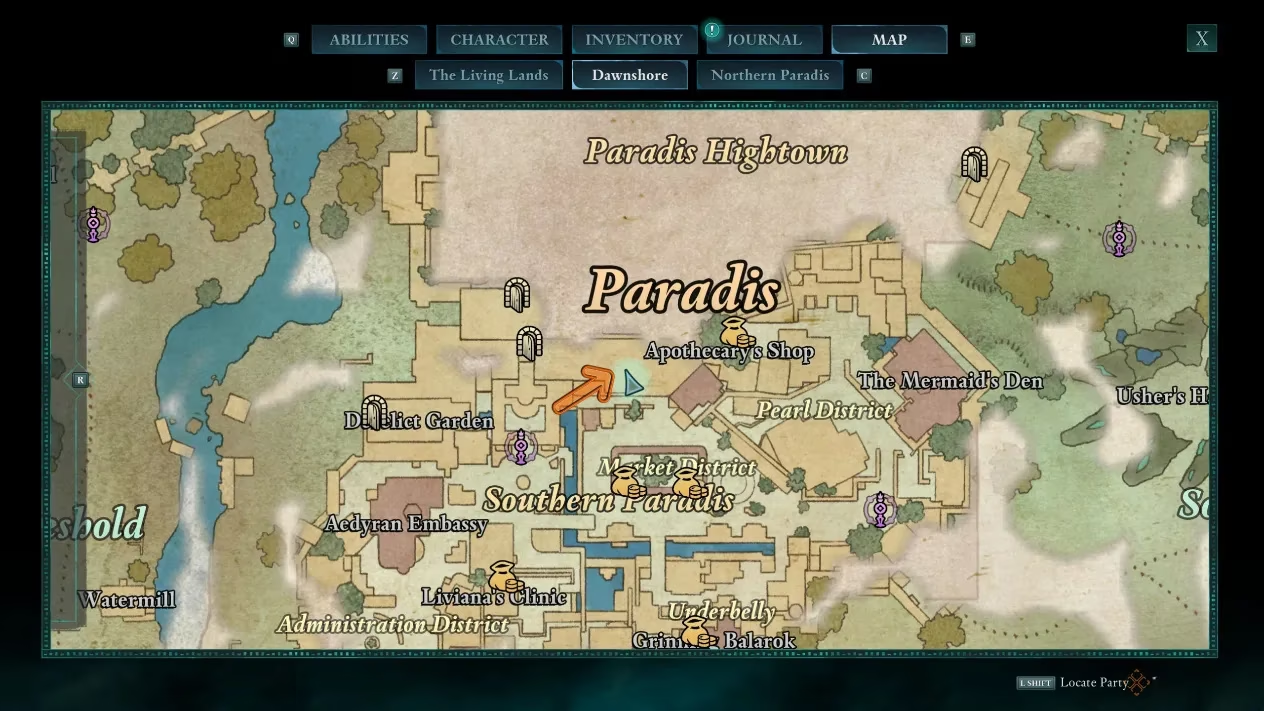
Golden Scale of Order: Pargrun Cache Parkour
The Golden Scale of Order demanded a trip to Pargrun Cache, north-central Dawnshore. I entered from the north by shooting explosive barrels near a blocked doorway. Inside, the ruins turned into a vertical gauntlet. Wooden platforms led me deeper, past swinging blade traps that I had to time perfectly. One dead end looked like a wall, but I spotted branches covering an opening. Through them, I glimpsed more explosive barrels beside a cracked wall. I shot them from a distance, circled around, and entered a new room. More platforms and a couple of nerve-wracking jumps across stone pillars outside finally rewarded me with the fragment perched on a high ledge.
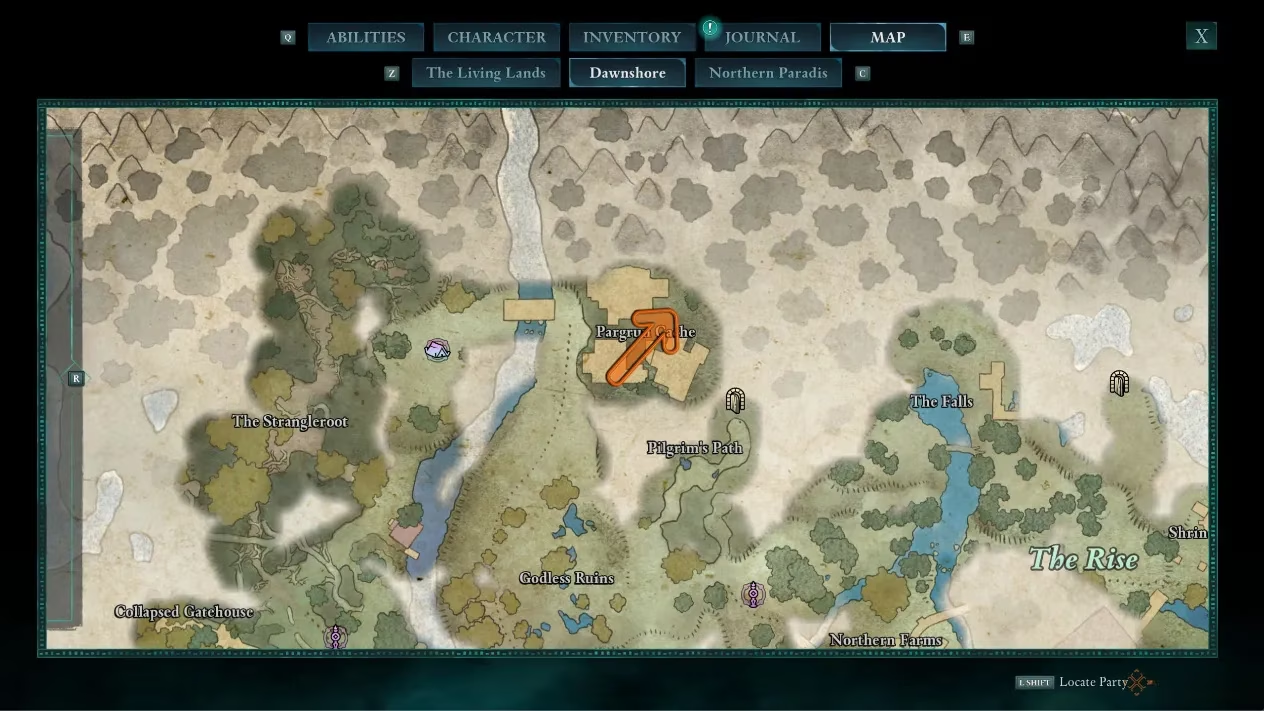
Golden Flames: The Peril of Castol’s Folly
Castol’s Folly island is no picnic. Located southeast of Paradis, it’s crawling with fine-tier enemies that shredded me the first time I visited. I recommend having at least one upgraded weapon and some fire resistance. The island’s gloomy path led me past a massive purple-hued chasm. Beyond it, I faced a tough skirmish against a group of cultists and warriors. After clearing them, I noticed a side path on the left with platforms stretching over a void. Some precise jumps — sometimes barely reaching the edge — brought me to the Golden Flames. The riddle’s mention of “flame-born folly” suddenly felt literal.
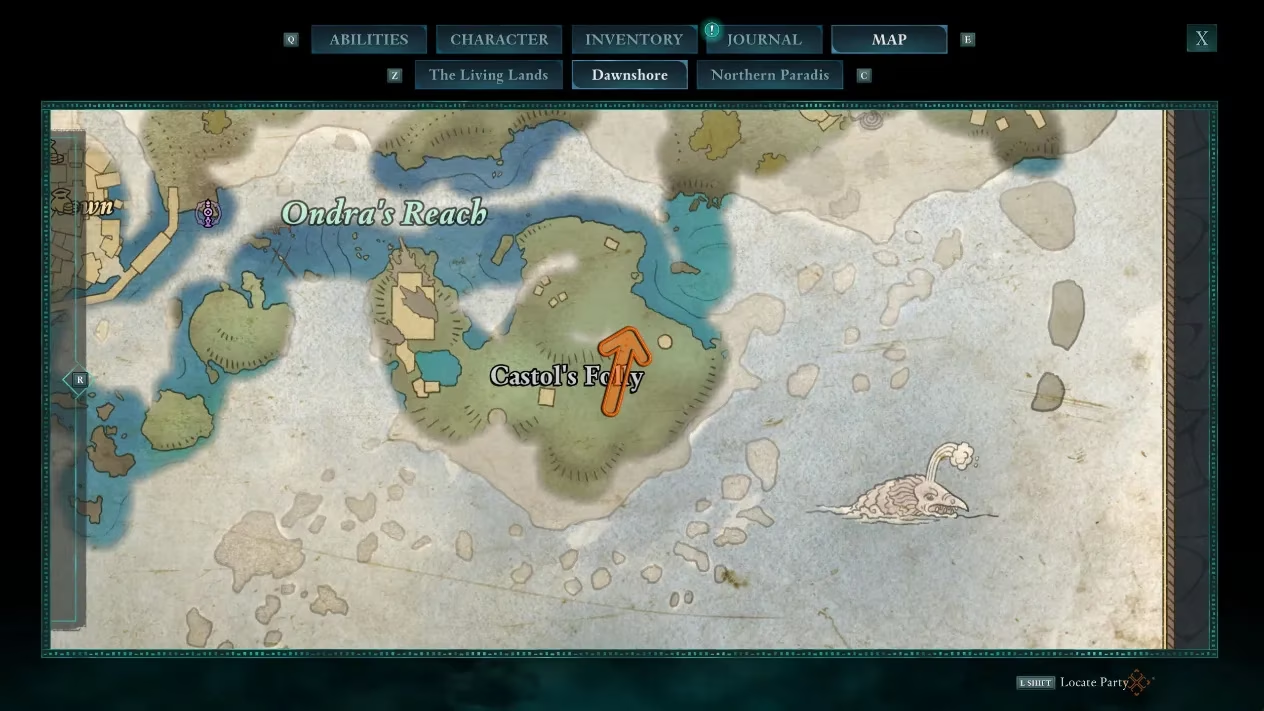
Golden Plaque of Oaths: Underwater Secret
My final piece was the Golden Plaque of Oaths. The riddle spoke of “twin ponds where oaths reflect,” guiding me to Usher’s Hand east of Paradis. On the map, I spotted two small ponds on the northern edge. I dove into the larger southern pond, swimming down until I saw an underwater tunnel. It opened into a secluded grotto with the plaque resting peacefully on a cloth. No enemies, no traps — just a serene reward for taking a literal plunge.
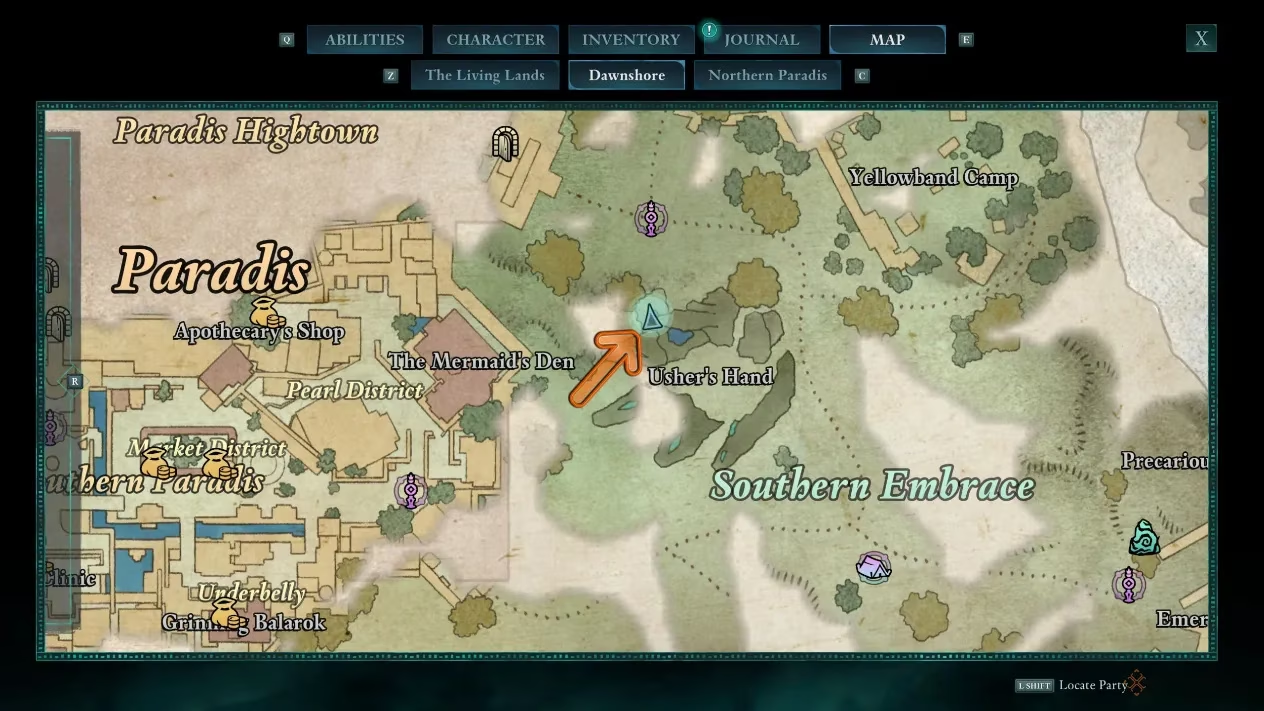
Assembling the Totem and Its Blessings
Once all seven fragments were in my possession, I went to any party camp and interacted with the pedestal. Slotting each piece unlocked passive boons that become more powerful with every fragment added. The completed Totem of Rightful Rulership grants a significant buff to critical chance and health regeneration when near companions — an absolute game-changer for group fights. The sense of accomplishment from solving these riddles without quest markers made the reward feel earned. If you enjoy exploration that respects your intelligence, don’t skip this totem. Happy hunting in the Living Lands!
Comments